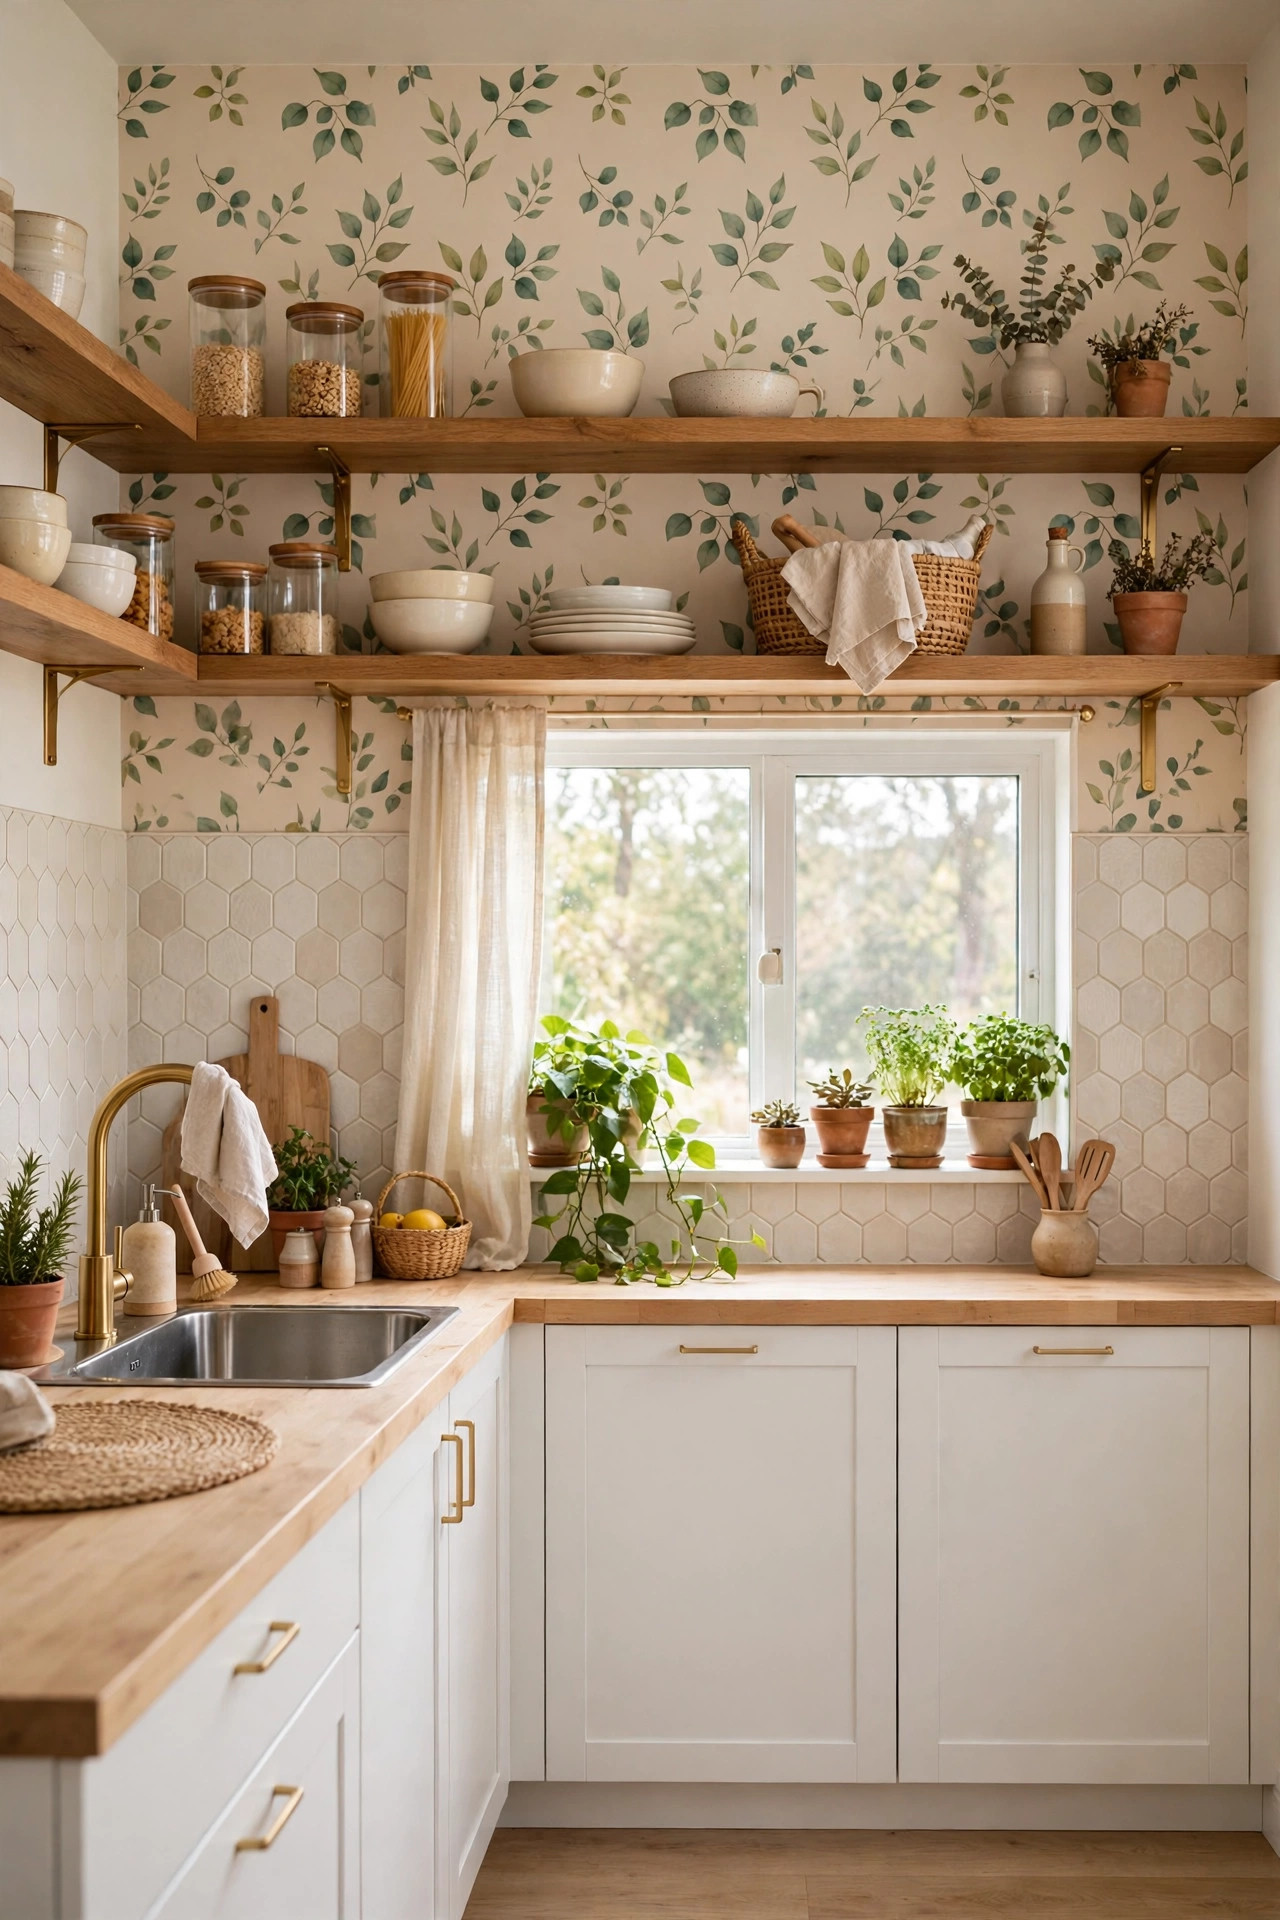
Rental kitchens are often the most dated room in the home: old cabinets, stained countertops, a backsplash from another decade, and lighting that makes everything look dull. Most renters assume they have to live with it until they move. But many kitchen upgrades are fully reversible, cost less than you think, and can be removed in an afternoon when your lease ends.
The rule is simple: if you can undo it without a trace, it is renter friendly. This guide covers the upgrades that pass that test, and the ones to avoid.
Swap the Cabinet Hardware
Changing cabinet knobs and handles is the fastest kitchen upgrade there is, and it is completely reversible. Old, worn knobs make even decent cabinets look tired. New knobs in matte black, brushed brass, or simple chrome instantly make the kitchen look updated.
Before you buy, check the size and spacing of your existing handles. Most handles have standard hole spacing, usually 3 inches or 3.75 inches between screws. Measure the distance between the two screw holes on one handle, and buy new handles with the same spacing. That way you can use the existing holes and you will not need to drill new ones.
Keep the original knobs and screws in a labeled bag, so you can put them back when you move out. A set of new knobs costs around 2 to 5 dollars each, so a kitchen with 15 cabinets costs 30 to 75 dollars. It takes about an hour to swap them all, and the difference is dramatic.
If your cabinets have no handles at all, adhesive handles or small knobs that attach with strong adhesive can work, but check the weight and test one first. For most renters, swapping existing hardware is the safer and cleaner option.
Peel and Stick Backsplash Tiles
A backsplash covers the wall between the counter and the upper cabinets, and it is one of the first things you notice in a kitchen. Peel and stick backsplash tiles are thin, flexible tiles with an adhesive back. They look like real tile, they wipe clean, and they peel off when you move out.
Choose a simple style: white subway tile, a soft marble look, or a light geometric pattern. Avoid very dark or very busy patterns in a small kitchen, because they can make the space feel smaller. A pack of peel and stick tiles costs around 20 to 40 dollars, and most kitchens need two to four packs depending on the size of the backsplash area.
Apply them slowly. Clean the wall first with a degreaser, because kitchen walls often have a thin layer of grease that stops adhesive from sticking. Start at one end and work across, pressing firmly and smoothing out air bubbles as you go. Use a craft knife to trim tiles around outlets and corners. Take your time with the first row, because if the first row is straight, the rest will follow.
Test a single tile in a hidden spot first, behind the fridge or in a corner, and leave it for a few days. Peel it off and check the wall underneath. If the paint comes off, this product is not safe for your walls, and you should try a different brand or a different upgrade.
Cover the Countertops Temporarily
Old, stained countertops make a whole kitchen look worn out. Contact paper, also called peel and stick countertop film, can cover them with a marble, butcher block, or solid color finish. A roll costs around 15 to 30 dollars, and one or two rolls usually cover a small kitchen.
This upgrade takes patience. Clean the countertop thoroughly and let it dry. Measure and cut the film with a few extra inches on each side. Peel back a small section, stick it down, and smooth it out slowly with a credit card or a smoothing tool, working out air bubbles as you go. Go slowly around the sink and the edges. Trim the excess with a craft knife.
Contact paper is not as durable as a real countertop. Do not put hot pans directly on it, and use a cutting board for all chopping. Wipe up spills quickly. With care, it can last a year or more, and it can be peeled off when you move out. If your countertop is very textured or damaged, the film may not stick well, so test a small piece first.
Upgrade the Lighting Without an Electrician
Kitchen lighting is often a single harsh fluorescent tube or a bare bulb. You cannot rewire a rental, but you can improve the light dramatically without touching any wiring.
Battery powered LED lights that stick under upper cabinets cost around 15 to 30 dollars for a set, and they transform the countertop. They make food prep easier and make the kitchen feel warmer in the evening. Look for warm white lights, and choose rechargeable or battery powered versions so you do not need to run cables.
A plug in pendant light can replace a harsh overhead bulb without any wiring. Some pendant kits screw into the existing light socket, so you can hang a pendant shade from the socket and plug nothing in. Others plug into a wall outlet and hang from a hook. Both are removable in minutes.
Swap the bulbs in your existing fixtures for warm white LED bulbs. It costs under 10 dollars and makes the kitchen feel less like an office and more like a home. If your fixture has a dirty or yellowed cover, clean it or, if it is removable, replace it with a simple cover you can take with you.
Add Open Shelving Without Drilling
Open shelving makes a small kitchen feel bigger and gives you a place to display the items you actually like. A freestanding shelf unit that sits on the counter adds a second level for mugs, spices, or plants, and it needs no wall fixings at all. A small wooden shelf unit costs 20 to 40 dollars.
A tension rod inside a cabinet or between two walls can hold a small shelf or hang utensils. A leaning ladder shelf in a corner holds cookbooks, plants, and jars without any holes. If you do want wall shelves, look for heavy duty adhesive shelf brackets rated for the weight, and test them with light items first. Never overload an adhesive shelf with heavy dishes.
Keep open shelves tidy. Display only the items you use and like: matching mugs, a few jars, a small plant. If open shelves become cluttered, they make the kitchen look messier, not better.
Replace the Faucet Aerator and Add Small Fixes
A faucet aerator is a small part that screws onto the end of your faucet. It controls the water flow and can improve water pressure and reduce splashing. A new aerator costs 3 to 8 dollars, screws on by hand, and can be swapped back in a minute. If your faucet drips or sprays unevenly, a new aerator often fixes it.
Other small, reversible fixes make a big difference. A new shower style faucet head is usually a landlord job, so do not replace the faucet itself without permission. But you can add a dish drying rack that fits over the sink, a cutting board that fits over the sink, and a small rug in front of the sink that protects the floor and adds color.
Replace a worn out sink mat, add a soap dispenser that matches your style, and put a small tray on the counter to corral oil bottles and spices. These tiny details make the kitchen feel cared for, even if the cabinets are old.
What to Avoid in a Rental Kitchen
Do not paint cabinets without written permission from your landlord. Cabinet paint is hard to remove, and a bad paint job can cost you your deposit. Do not drill into tile, because tile cracks easily and is expensive to repair. Do not remove any fixture, cabinet door, or appliance without permission. Do not install anything that requires plumbing or electrical work.
If you are unsure whether an upgrade is allowed, ask your landlord in writing. A short email with a photo of what you plan to do is enough. Many landlords say yes to reversible upgrades, because a nicer kitchen benefits them too. Get the yes in writing, and keep it with your lease paperwork.
Keep Your Originals Safe
For every upgrade you make, keep the original parts. Put the old knobs, screws, and any removed covers in a labeled bag or box, and store it in a closet. Take photos of the kitchen before you start, so you know exactly how it looked. When you move out, work through the list in reverse: peel off the backsplash, remove the countertop film, swap the knobs back, take down the lights, and clean the walls.
A rental kitchen does not have to stay ugly until you move. With new hardware, a peel and stick backsplash, temporary countertop film, better lighting, and a few freestanding shelves, you can transform it for 100 to 200 dollars, enjoy it for the whole lease, and leave it exactly as you found it. Start with the hardware swap this weekend. It takes an hour, and it will make you see your kitchen differently from the moment you finish.